
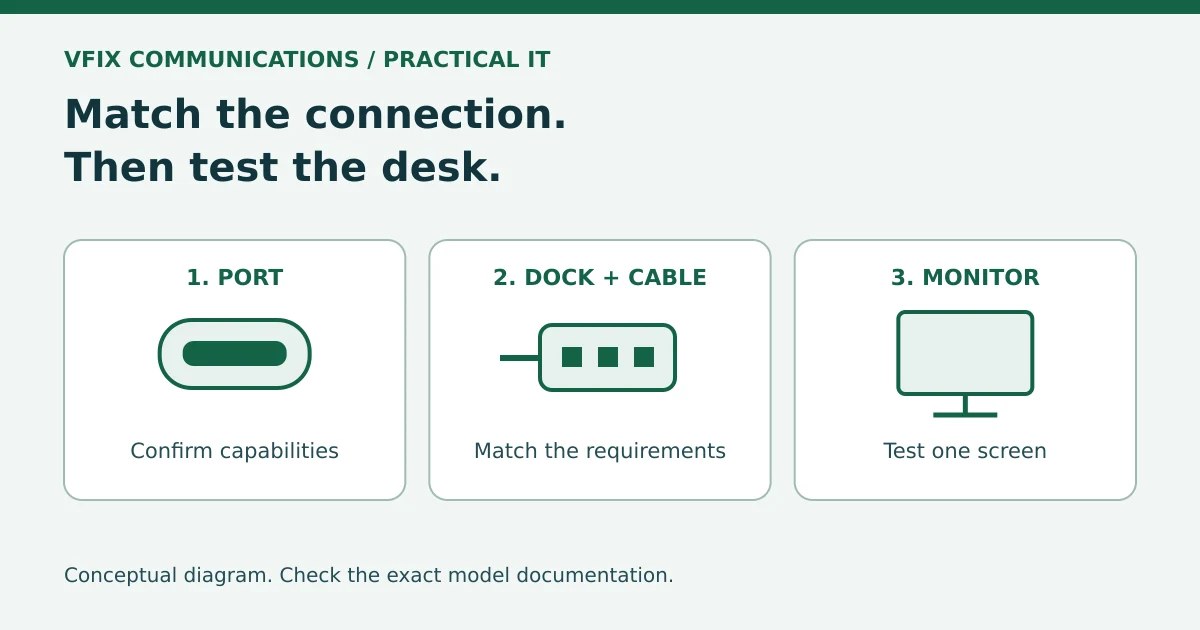
A shared desk should be simple: connect the laptop and start work. But a USB-C plug that fits, or a battery that starts charging, does not by itself establish that the same connection can carry the monitor signal. For a Bay Area office with mixed laptops and docks, the useful question is which combination actually supports the work.
This is a first-pass checklist for Windows 11 desks, not a universal compatibility chart. Use the instructions for the exact laptop, dock and display models.
Check capabilities, not just connector shape
The USB Implementers Forum explains that cables have different capabilities and that a certified cable does not add capabilities to the products it connects. See its cable and connector guidance. A power rating alone is not a complete display-compatibility check.
For a dock or adapter that uses DisplayPort Alternate Mode, the relevant laptop port and cable must support that connection method. Microsoft also advises matching the USB-C features of the PC, cable and connected device. Its USB-C troubleshooting guide separates charging, device and display problems. Do not assume every USB-C port on a laptop has identical capabilities.
Make a short connection record
Before ordering a replacement or swapping equipment between desks, collect:
- The laptop model and the specific port in use, not just the laptop brand.
- The dock model, its power supply and its documented host-connection requirements.
- The laptop-to-dock cable's model or part number, if available. Keep the supplied or approved cable identifiable.
- The monitor models, connection types and the number of screens you need. Include the desired resolution and refresh rate.
- The exact symptom: no picture, one screen missing, intermittent disconnects, or charging trouble. Capture any Windows notification.
The manufacturer documentation should confirm the intended combination. Different dock designs have different requirements; a working setup on a colleague's laptop is a useful comparison, not proof of compatibility with yours.
Test one display without disrupting the work
- Prepare to disconnect safely. Save work and finish transfers. Properly eject any external storage attached through the dock before removing its cable. Coordinate if the setup is serving a meeting.
- Check the simple settings. Confirm the monitor has power and the intended input selected. On Windows, press Windows key + P and choose Extend when you want a separate desktop.
- Reduce the connection chain. Test one external monitor using a known-compatible cable and a supported direct connection, where the laptop permits it. Avoid adding another hub or an unverified adapter to the test.
- Change one thing at a time. Record the cable and port used and whether the picture appears. Microsoft recommends checking cable connections and isolating accessories in its external-monitor troubleshooting guidance.
If the monitor works directly but not through the dock, you have narrowed the investigation, not proved the dock is defective. Bring the results to IT before installing drivers, changing firmware or replacing hardware. Those changes should follow your organization's approved process.
Keep the working combination reproducible
After one screen works, verify the complete intended desk: remaining monitors, normal peripherals and charging during an ordinary work session. Label the validated cable and keep a short setup note at a shared desk. Do not quietly move a working cable to another station and leave an unknown substitute behind.
For recurring workstation issues, review VFIX's IT help desk and support service or contact VFIX with the connection record. A clear description of what works and what does not is more useful than another photo of a plug that fits.